

Every website owner knows how frustrating it can be to encounter errors. When your site isn’t functioning correctly, it’s not just an inconvenience—it can negatively impact your business by driving visitors away and affecting sales.
The good news? Most WordPress errors are easier to fix than you might think.
At WPBeginner, we’ve assisted countless website owners in resolving similar issues. We’ve seen and fixed nearly every WordPress error, so we know exactly how to troubleshoot them efficiently.
In this guide, we’ll walk you through the steps we use to resolve WordPress errors, ensuring your website runs smoothly.
Understanding WordPress Errors and Their Impact
WordPress errors occur when something goes wrong on your site, leading to broken pages, error messages, or malfunctions.
Some common WordPress errors include:
- The ‘White Screen of Death’
- Internal server errors
- Database connection issues
These errors matter because they can disrupt your site’s functionality and make it appear unprofessional. A malfunctioning website can lead to high bounce rates, poor user experience, and security vulnerabilities that hackers may exploit.
Fixing these issues promptly ensures your site remains reliable, secure, and user-friendly.
How to Troubleshoot WordPress Errors
Now that you understand the importance of resolving errors, let’s dive into how to fix them. Troubleshooting may seem overwhelming at first, but following the right steps will make it much easier.
Here’s an overview of the troubleshooting process:
- Identify and research the error message
- Back up your WordPress site
- Clear your browser cache
- Clear the WordPress cache
- Disable all plugins
- Switch to a default WordPress theme
- Regenerate permalinks
- Backup and delete the .htaccess file
- Verify the WordPress site URL
- Check reading settings
- Fix email issues
- Scan for malware and security threats
- Get professional support if needed
Now, let’s go through these steps in detail.
1. Research the Error Message
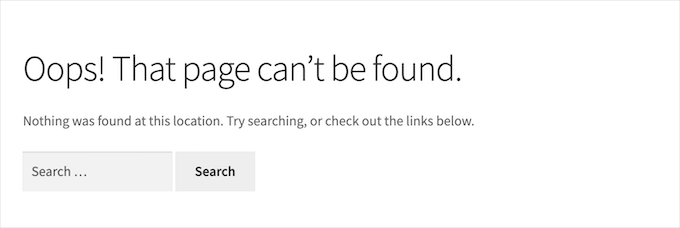
When an error occurs, WordPress often displays a message explaining the issue, such as a 404 error or an HTTP error in the media library.
Instead of guessing, search for a guide specific to your error message. WPBeginner offers solutions to common WordPress errors. Simply enter your error message in the WPBeginner search bar to find a troubleshooting guide.
Additionally, WordPress includes a debugging system that logs errors. You can review these logs to diagnose the problem. Learn how to access WordPress error logs here.
2. Back Up Your WordPress Site
Before making any changes, always create a full backup of your website.
Backups allow you to restore your site if something goes wrong, protecting you from data loss and security threats.
If you already use a backup plugin, ensure you have a recent backup stored securely, preferably in cloud storage like Google Drive or Dropbox.
If you don’t have a backup solution yet, check out this list of the best WordPress backup plugins.

Some WordPress backup plugins let you save your files to multiple locations. For example, Duplicator lets you choose between different online storage services, including Amazon S3, Dropbox, Google Drive, and more.
3. Clear Your Browser Cache
Sometimes, your browser stores outdated versions of your site, causing errors to appear.
To ensure you’re seeing the latest version, clear your browser cache. The process varies depending on your browser—find step-by-step instructions here.
4. Clear the WordPress Cache
If you use a caching plugin like WP Rocket or your hosting provider includes built-in caching (e.g., Bluehost), your website may be displaying an outdated version.
In this case, clearing your WordPress cache can resolve the issue. Most caching plugins have a simple option to purge the cache from your WordPress dashboard.
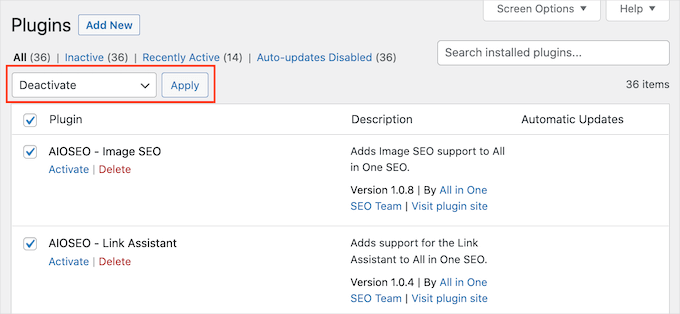
5. Disable All Plugins
Plugin conflicts can often cause errors on your site.
To identify the problematic plugin:
- Deactivate all plugins via the Plugins page in WordPress.
- Reactivate them one by one, checking for errors after each activation.
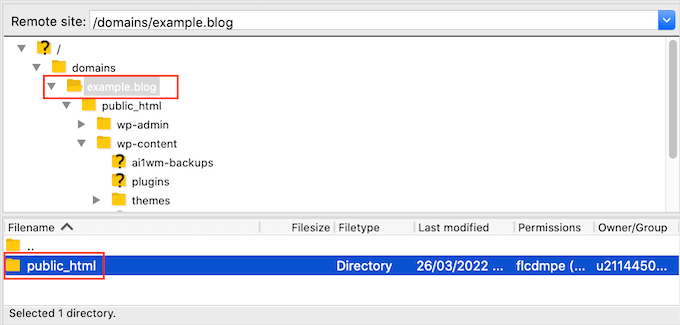
If you can’t access your WordPress dashboard, deactivate plugins using FTP:
- Connect to your site via an FTP client.
- Navigate to the wp-content/plugins/ folder.
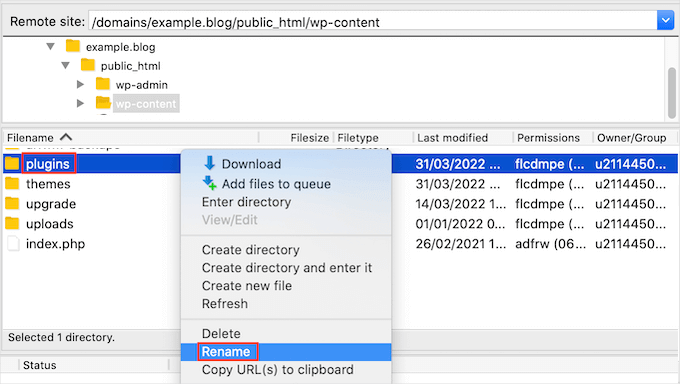
- Rename the folder (e.g.,
plugins.deactivated).
Once you’ve done that, let’s open the wp-content folder in your FTP client.
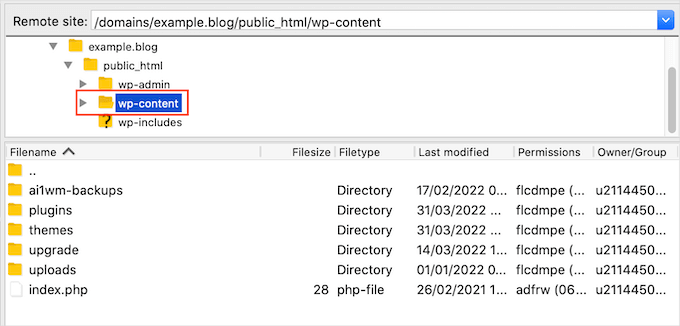
Here, you’ll see a folder named plugins.
You can now either control-click or right-click this folder and select ‘Rename.’
Once plugins are disabled, check if the issue is resolved. If it is, reactivate plugins individually to pinpoint the culprit.
For a detailed guide, read how to deactivate all plugins via FTP.
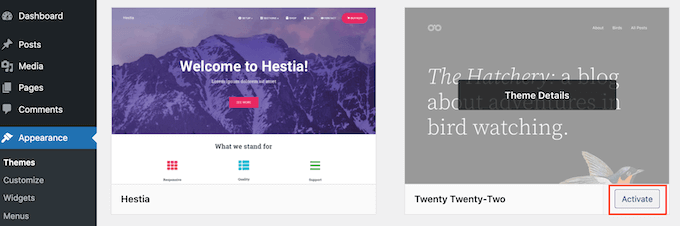
6. Switch to a Default WordPress Theme
Your WordPress theme may also be the cause of the error.
To check if your theme is the issue:
- Go to Appearance » Themes and activate a default theme like Twenty Twenty-One.
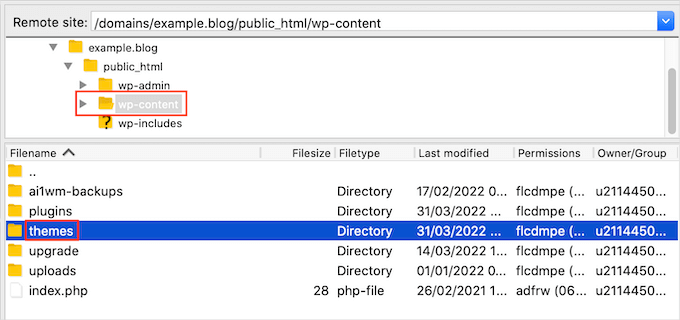
- If you can’t access the admin area, use FTP:
- Connect to your site.
- Navigate to
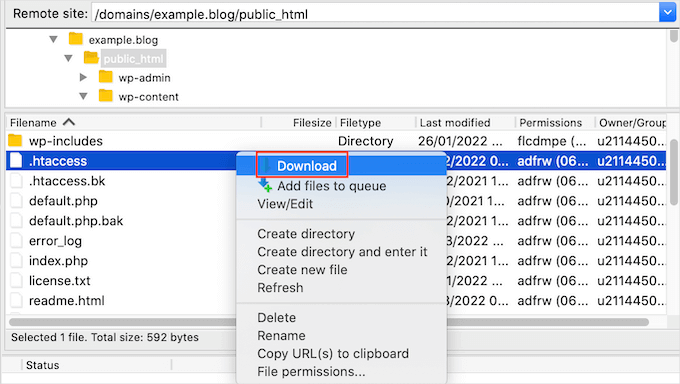
/wp-content/themes/. - Rename your current Active theme / Download.
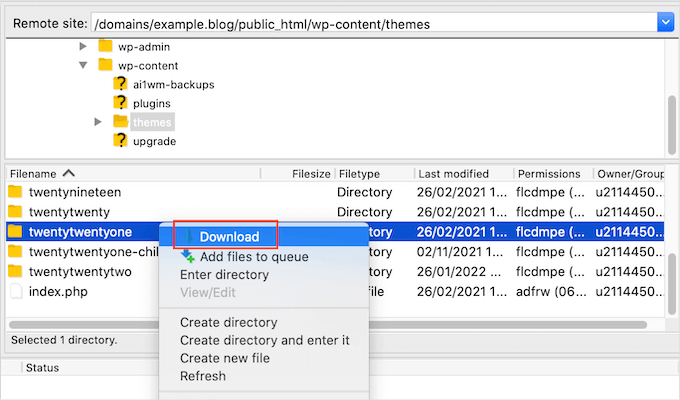
Before making any changes, it’s a good idea to download a copy of your current active theme. This will make it easier to restore your theme after doing this test.
To download your currently active theme, simply find the folder that has this theme’s name. Then either control-click or right-click this folder.
After that, we’re going to select ‘Download.’
If switching themes resolves the error, consider choosing a different theme for your site. Check out this list of the best WordPress themes.
7. Regenerate Permalinks
Incorrect permalink settings can lead to 404 errors.
To refresh permalinks:
- Go to Settings » Permalinks in WordPress.
- Click Save Changes without making any modifications.
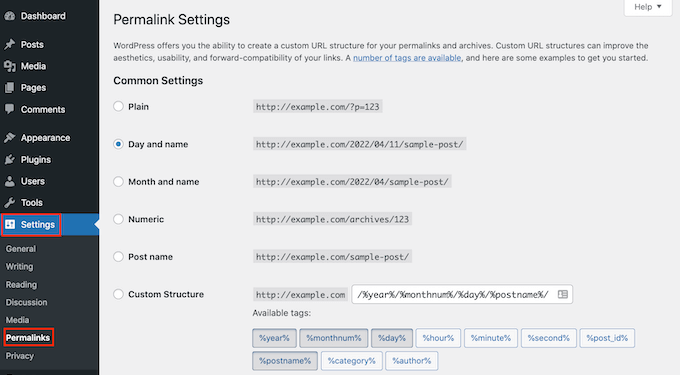
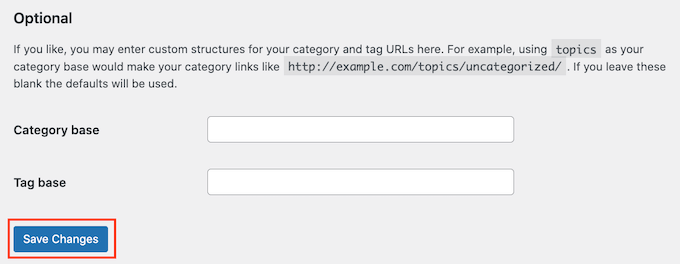
This action rebuilds your permalink structure and often fixes broken links.
8. Backup and Delete the .htaccess File
The .htaccess file controls important settings on your site. A corrupted .htaccess file may cause errors.
To fix this issue:
- Backup your
.htaccessfile via FTP. - Delete the file.
- Go to Settings » Permalinks and click Save Changes to generate a new one.
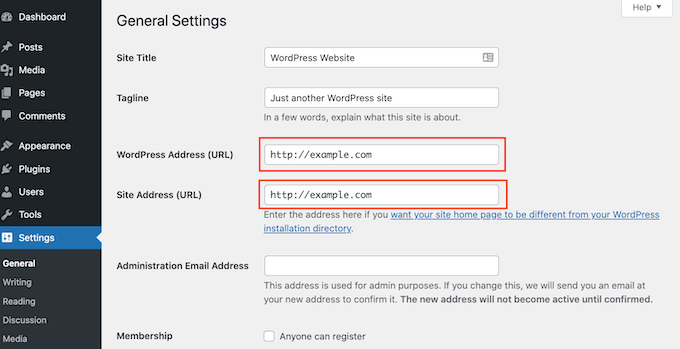
9. Verify the WordPress Site URL
If your WordPress site URL is incorrect, it may cause issues with login, redirects, and broken links.
To check:
- Go to Settings » General and confirm the WordPress Address (URL) and Site Address (URL) are correct.
- Update WordPress URL and Site URL Settings in wp-config.php File
With this method, you’ll add some code to your site’s wp-config.php file.
You’ll find this file in the root folder of your website along with other folders, like wp-content.
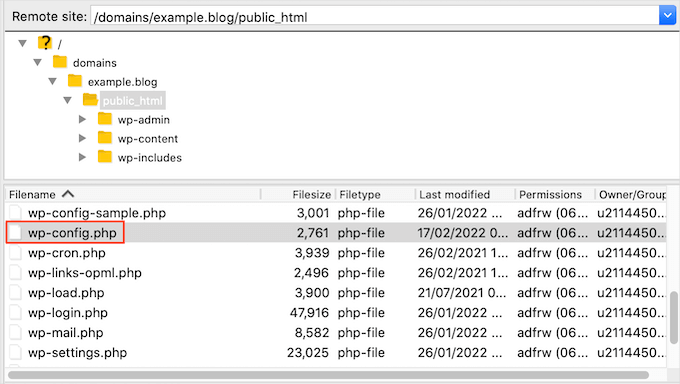
Once you’ve found this file, give it a click and then select ‘View/Edit.’
This will open the file in your computer’s default text editor, such as Notepad.
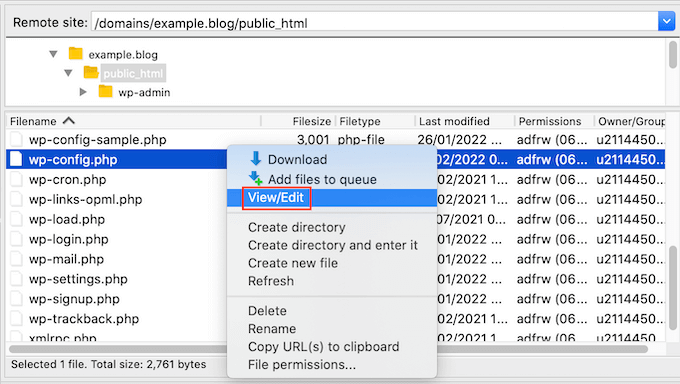
In this file, you’ll want to find the line that says:
/* That's all, stop editing! Happy blogging. */
Just before this line, let’s add the following code:
define('WP_HOME', 'http://example.com');
define('WP_SITEURL', 'http://example.com');
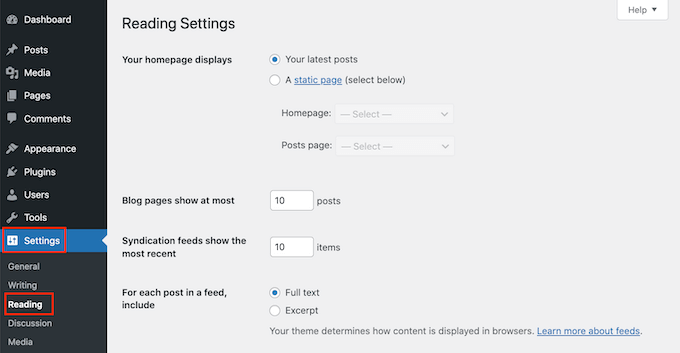
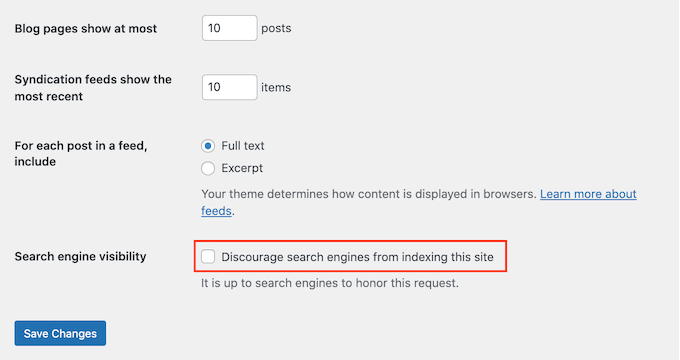
10. Check Reading Settings
If your homepage isn’t displaying correctly, review your Reading Settings:
- Navigate to Settings » Reading and ensure the correct homepage is selected.
11. Troubleshoot Email Issues
If your WordPress emails aren’t working, try using an SMTP plugin like WP Mail SMTP to improve email deliverability.
12. Scan for Malware and Security Threats
A hacked website can cause various errors. Use security plugins like Sucuri or Wordfence to scan for malware and fix vulnerabilities.
13. Get Professional Support
If you’ve tried everything and still can’t resolve the issue, consider seeking expert help from:
- Your web hosting support team
- WordPress support forums
- WPBeginner’s guides and tutorials
Conclusion
By following these steps, you can diagnose and fix most WordPress errors efficiently. Regular backups, plugin management, and security checks will help prevent future issues, keeping your website running smoothly.
Need more help?


Discover more from WhiteShadow
Subscribe to get the latest posts sent to your email.
Leave a Reply